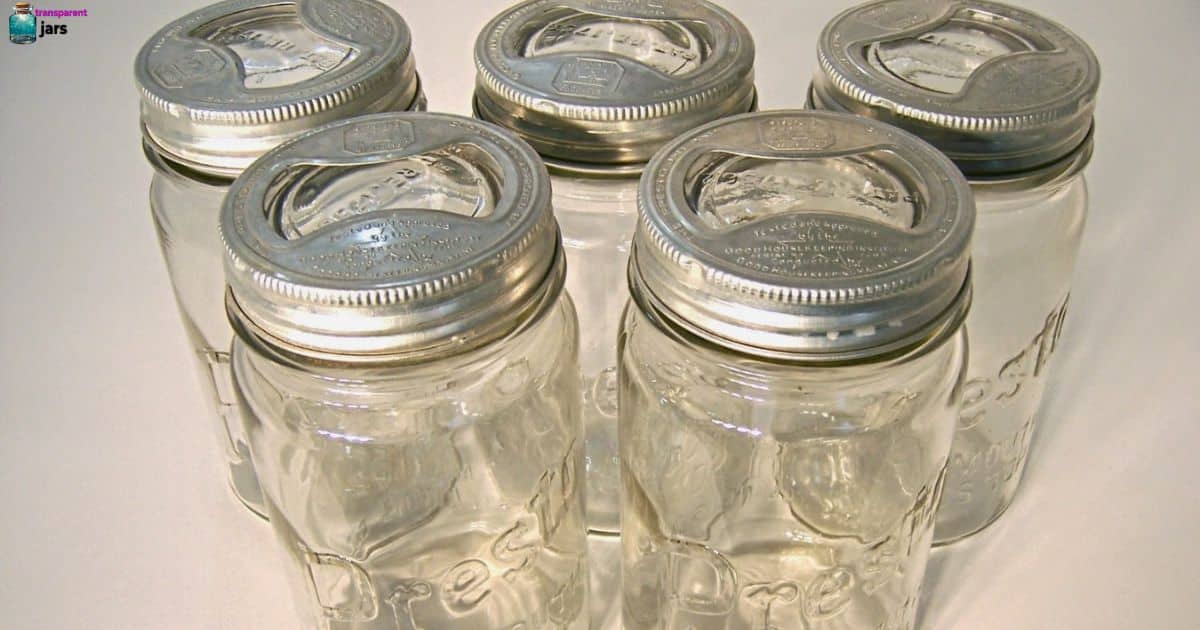
Canning is a time-honored tradition that allows us to preserve the flavors of the season and enjoy our favorite fruits, vegetables, and homemade goodies year-round. Whether you’re a seasoned canner or a beginner looking to embark on this culinary adventure, one crucial step in the process is sterilizing Mason jars. Properly sterilized jars ensure that your canned goods remain safe, flavorful, and free from harmful bacteria. In this comprehensive guide, we will explore the importance of sterilization, the methods available, and step-by-step instructions on how to sterilize Mason jars for canning.
Why Sterilize Mason Jars?
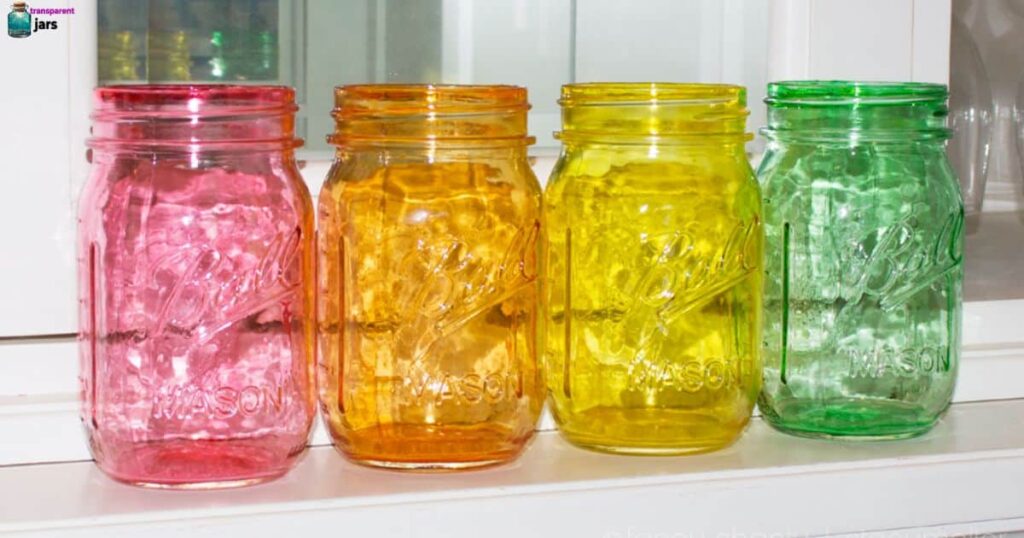
Sterilizing Mason jars is a critical step in the canning process, as it helps eliminate any bacteria, yeast, or mold that may be present in or on the jars. This is essential for preserving the quality and safety of your canned goods. Bacteria and other microorganisms can spoil your food, leading to off-flavors, discoloration, and even the growth of harmful toxins. Sterilization also prevents the formation of molds, which can ruin your canned products and pose health risks.
Additionally, sterilizing Mason jars prolongs the shelf life of your canned goods by preventing the growth of spoilage microorganisms. It ensures that the food inside the jars remains safe for consumption, even after an extended period of storage. By taking the time to sterilize your jars properly, you invest in the success of your canning endeavors and the well-being of those who will enjoy your homemade delights.
Methods of Sterilizing Mason Jars
Several methods can be employed to sterilize Mason jars for canning. Each method has its advantages and may be more suitable for different situations. Below are some common methods:
- Boiling Water Bath:
- This method involves submerging the jars in boiling water for a specific period. It is a straightforward and widely used technique.
- Start by washing the jars, lids, and bands in hot, soapy water.
- Place the jars in a canner or a large pot, ensuring they are fully submerged in water.
- Bring the water to a boil and maintain a rolling boil for at least 10 minutes.
- Carefully remove the jars using jar lifters, and let them air dry on a clean surface.
- Oven Sterilization:
- Oven sterilization is a dry heat method that can be convenient for those without access to a canner.
- Preheat your oven to 250°F (121°C).
- Place washed jars on a baking sheet, ensuring they do not touch each other.
- Heat the jars in the oven for at least 20 minutes.
- Remove the jars carefully and let them cool before use.
- Dishwasher Method:
- Many modern dishwashers have a sterilization setting that can be utilized for canning jars.
- Place the jars, lids, and bands in the dishwasher and run a complete cycle with the sterilization option activated.
- Remove the jars promptly to avoid contamination from the air.
- Steam Sterilization:
- Using steam is another effective way to sterilize Mason jars.
- Set up a steamer or a large pot with a steaming basket.
- Steam the jars for at least 10 minutes after the water comes to a rolling boil.
- Carefully remove the jars and let them cool before filling.
Step-by-Step Guide on How to Sterilize Mason Jars
Now that we’ve explored the various sterilization methods, let’s delve into a step-by-step guide on how to sterilize Mason jars using the boiling water bath method, which is one of the most traditional and widely adopted techniques.
Step 1: Gather Your Equipment and Supplies
Before you begin the sterilization process, make sure you have all the necessary equipment and supplies:
- Mason jars
- Lids and bands
- Jar lifter
- Canner or large pot
- Clean, hot water
- Clean, lint-free towels
- Timer
Step 2: Wash the Jars, Lids, and Bands
Thoroughly wash the Mason jars, lids, and bands in hot, soapy water. Use a bottle brush to clean the inside of the jars, paying close attention to the rims. Rinse the items well to remove any soap residue.
Step 3: Inspect Jars for Chips or Cracks
Inspect each jar for any chips or cracks. Damaged jars may compromise the seal and safety of the canning process, so it’s crucial to use only jars in good condition.
Step 4: Prepare the Canner or Pot
Fill the canner or a large pot with enough clean water to fully submerge the jars. Ensure there is sufficient water to cover the jars by at least one inch. Place the canner on the stove and start heating the water.
Step 5: Place Jars in the Canner
Carefully place the washed jars into the canner, ensuring they are not touching each other. Use a jar lifter for this task to avoid burning yourself with the hot water.
Step 6: Bring Water to a Boil
Once all the jars are in the canner, turn on the heat and bring the water to a rolling boil. It’s essential to maintain a vigorous boil throughout the sterilization process.
Step 7: Boil Jars for 10 Minutes
Once the water reaches a rolling boil, set a timer for 10 minutes. Allow the jars to boil continuously for the entire duration.
Step 8: Remove Jars Carefully
After 10 minutes of boiling, use the jar lifter to carefully remove the hot jars from the canner. Be cautious to avoid any burns or accidents.
Step 9: Let Jars Air Dry
Place the hot jars on a clean, lint-free towel to air dry. Avoid placing them directly on a cold or wet surface, as sudden temperature changes may cause the jars to crack.
Step 10: Inspect Lids and Bands
While the jars are drying, inspect the lids and bands. Ensure there are no dents or defects that could compromise the sealing process.
Step 11: Boil Lids and Bands
In a separate small pot, bring water to a gentle simmer. Place the lids and bands in the simmering water for about 10 minutes to sterilize them.
Step 12: Assemble Jars for Canning
Once the jars, lids, and bands are thoroughly dried and sterilized, you are ready to fill the jars with your chosen ingredients for canning. Follow your canning recipe for specific instructions on preparing and filling the jars.
FAQ’s
Why is it necessary to sterilize Mason jars for canning?
Sterilizing Mason jars eliminates harmful bacteria, molds, and yeast, ensuring the safety and longevity of your canned goods.
Why is it necessary to sterilize Mason jars for canning?
Yes, you can. Run the jars through a dishwasher with a sterilization setting to achieve a clean and sanitized result.
Why is it necessary to sterilize Mason jars for canning?
Boil Mason jars for at least 10 minutes to effectively eliminate any potential contaminants.
Is oven sterilization a viable method for Mason jars?
Absolutely. Preheat the oven to 250°F and heat washed jars for at least 20 minutes for dry heat sterilization.
Can I reuse Mason jars without re-sterilizing?
It’s recommended to sterilize jars before each use to maintain the integrity and safety of the canning process.
Conclusion
Sterilizing Mason jars is a crucial step in the canning process, ensuring the safety and longevity of your homemade preserves. By understanding the importance of sterilization and following the step-by-step guide provided, you can confidently embark on your canning journey. Whether you choose the boiling water bath method or another suitable technique, the key is to prioritize cleanliness and precision throughout the process. With properly sterilized Mason jars, you’ll be able to savor the fruits of your labor long after the canning season has come to an end. Learn more “How to Paint Mason Jars?“

