Welcome to our guide on how to seal mason jars! Whether you’re a seasoned canner or just starting out, properly sealing your jars is crucial for preserving the freshness and flavor of your homemade goods. In this article, we will walk you through the step-by-step process of sealing mason jars, ensuring that you achieve a tight and secure seal every time.
We will cover important aspects such as choosing the right jar size, preparing the jars and lids, filling and packing the jars, wiping and applying the seal, processing the jars in a water bath, testing and storing sealed jars, and troubleshooting common seal issues. By following these instructions, you will be well-equipped to seal your mason jars with confidence and enjoy the satisfaction of a job well done.
Key Takeaways
- Choose the appropriate jar size based on the quantity of food or item to be preserved
- Sterilize all equipment, including jars and lids, before use
- Consider different packing techniques such as hot packing, raw packing, or layered packing
- Properly inspect and test sealed jars for signs of leakage or improper sealing before storing
Choosing the Right Jar Size
To ensure proper preservation, it is essential to select the appropriate jar size when sealing mason jars. When it comes to choosing the right jar size, there are a few factors to consider. Firstly, you need to assess your purchasing options.
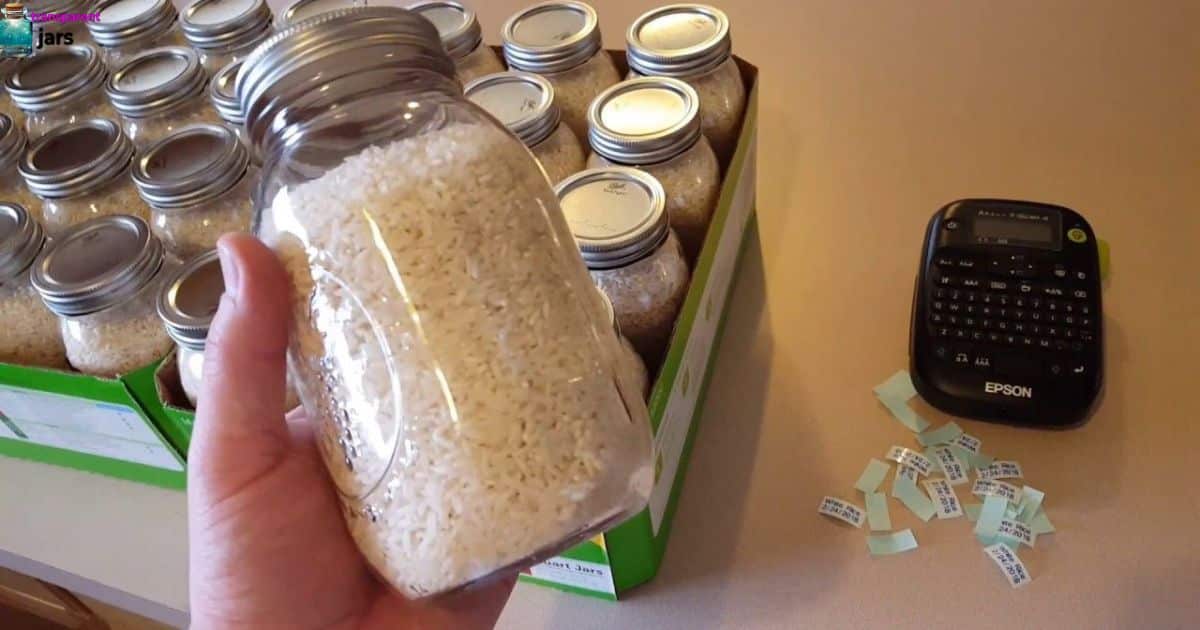
Mason jars come in various sizes, ranging from small 4-ounce jars to large 32-ounce jars. Consider the quantity of the food or item you plan to preserve and choose a jar size that accommodates it adequately. Wondering for more information on this topic Oz In A Mason Jar
Decorative jar options are available for those who desire a visually pleasing presentation. These jars come in different shapes, colors, and designs, allowing you to add a touch of elegance or personal style to your preserved goods. Once you have selected the appropriate jar size, it is time to move on to preparing the jars and lids for sealing.
Preparing the Jars and Lids

To ensure proper sealing of mason jars, begin by thoroughly cleaning the jars and lids before use. Follow these steps to prepare the jars and lids for sealing:
- Sterilizing equipment: Before starting the process, make sure to sterilize all the equipment you will be using, including the jars, lids, and any utensils. This will help eliminate any bacteria or contaminants that could affect the seal.
- Choosing jar materials: When selecting mason jars, opt for those made of high-quality glass that can withstand the heat of canning. Avoid using jars with chips or cracks, as they may lead to sealing issues.
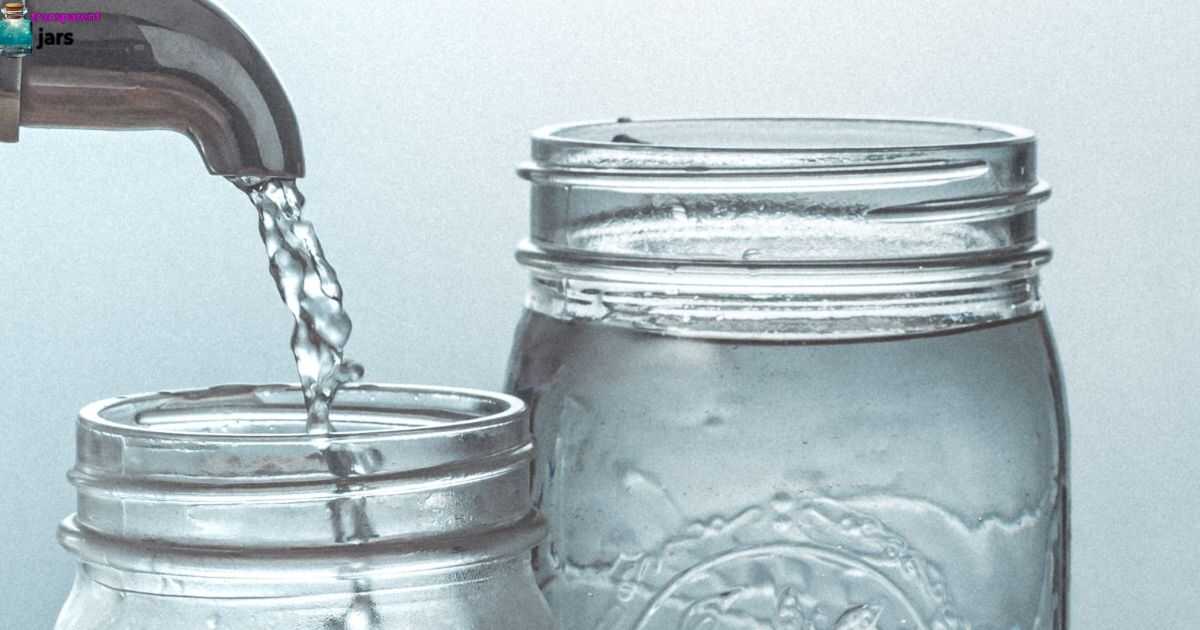
- Cleaning the jars: Wash the jars and lids with hot, soapy water, ensuring that all residue and dirt are removed. Rinse them thoroughly to eliminate any soap residue.
- Drying the jars: Allow the jars and lids to air dry completely or use a clean towel to dry them. Moisture can interfere with the sealing process, so make sure they are completely dry before use.
Filling and Packing the Jars
Filling and packing the jars requires careful attention to ensure proper sealing. When it comes to packing techniques, it’s important to consider the type of food being preserved and the desired level of freshness. To help you make informed decisions, here’s a table highlighting different packing techniques and their benefits:
| Packing Technique | Benefits |
|---|---|
| Hot Packing | Helps preserve flavors and textures |
| Raw Packing | Retains natural crispness and freshness |
| Layered Packing | Allows for easy portioning and presentation |
Wiping and Applying the Seal
To ensure a secure seal, it is essential to properly wipe the rim of the mason jar and carefully apply the seal. Follow these steps to achieve the best results:
- Cleaning and sterilizing: Before wiping the rim, make sure it is clean and free from any dirt or residue. Sterilize the jars and lids by boiling them or running them through a dishwasher cycle.
- Wipe the rim: Take a clean, lint-free cloth or paper towel and gently wipe the rim of the jar. Remove any food particles or moisture that could prevent a proper seal.
- Apply the seal: Place the lid on top of the jar, ensuring it is centered. Apply firm, even pressure to secure the seal. Avoid overtightening, as this can cause the seal to fail.
- Check for a proper seal: After sealing, press down on the center of the lid. If it is firm and does not pop back, the jar is properly sealed.
Processing the Jars in a Water Bath
Begin the water bath processing by placing the sealed mason jars into a large pot or canner filled with enough boiling water to cover the jars completely. This step is crucial for ensuring the safety of your preserved foods. The water bath method involves submerging the jars in boiling water and allowing them to process at a specific temperature for a set amount of time.
This process kills any bacteria or microorganisms that may be present, ensuring the long-term preservation of your goods. It is important to follow proper water bath safety guidelines, such as using a canner with a rack to prevent direct contact between the jars and the bottom of the pot and using jar lifters to handle the hot jars. While alternative sealing methods exist, such as pressure canning, and the water bath method.
Testing and Storing Sealed Jars
After processing the jars in a water bath, the next step is to test and store the sealed jars. Proper testing methods and storage techniques are essential to ensure the safety and longevity of your preserved goods. Here are four important steps to follow:
- Visual Inspection: Carefully examine the jars for any signs of leakage or improper sealing. Look for bulging lids, discolored contents, or any other visible abnormalities.
- Lid Check: Gently press down on the center of each lid. It should be firm and not move or make a popping sound. This indicates a proper seal.
- Storage Location: Store sealed jars in a cool, dark, and dry place. Avoid areas with direct sunlight or extreme temperature fluctuations, as they can compromise the integrity of the seal.
- Rotation System: Implement a rotation system by placing newly preserved jars at the back of the storage area. This ensures that older jars are used first, preventing spoilage.
Troubleshooting Common Seal Issues

When inspecting the sealed mason jars, it is important to identify and troubleshoot any common seal issues that may arise. One common issue is jar leakage, which can occur when the seal is not properly formed or when the jar has been damaged. To troubleshoot this problem, check for any visible cracks or chips in the jar itself. Ensure that the lid is tightly secured and that the sealing compound is intact.
Another common issue is jar breakage, which can happen during the sealing process or while the jars are being stored. To troubleshoot this problem, make sure to use jars specifically designed for canning and follow proper sealing techniques. Avoid over-tightening the lids, as this can put excessive pressure on the glass. By addressing these common seal issues, you can ensure the integrity and longevity of your sealed mason jars.
Frequently Asked Questions
Can I Reuse the Lids and Bands for Sealing Mason Jars?
Reusing lids and bands for sealing mason jars is not recommended as they may not provide a secure seal. It is advisable to use new lids for optimal food preservation. Alternative methods, such as vacuum sealing, can also be explored.
How Long Can I Store Sealed Mason Jars?
The shelf life of sealed mason jars depends on various factors, such as the contents and the storage conditions. To ensure the best quality, store them in a cool, dark place away from moisture and heat sources.
Can I Seal Mason Jars Without Using a Water Bath?
Sealing mason jars without a water bath can be done using alternative methods such as pressure canning or oven canning. However, it is important to note that water bath sealing offers the benefits of ensuring proper sterilization and preventing bacterial growth.
What Type of Foods Can I Safely Seal in Mason Jars?
Canning fruits and pickling vegetables are popular methods of safely sealing foods in mason jars. These techniques preserve the freshness and flavor of the produce, allowing individuals to enjoy their favorite fruits and vegetables long after their harvest season.
Can I Seal Mason Jars Using Alternative Methods, Such as Vacuum Sealers?
Yes, it is possible to seal mason jars using alternative methods such as vacuum sealers. These alternative sealing methods can provide an effective way to preserve and store various types of food, ensuring freshness and extending shelf life.
Conclusion
Mastering the art of sealing mason jars requires attention to detail and adherence to proper techniques. Like a skilled craftsman, one must carefully choose the right jar size, prepare the jars and lids with precision, and fill them with care. How to Seal Mason Jars?
Just as a painter meticulously applies the final brushstroke, wiping and applying the seal is essential for a successful outcome. Lastly, akin to a conductor leading an orchestra, processing the jars in a water bath ensures the preservation of their contents. With these steps mastered, one can confidently store and enjoy the fruits of their labor.