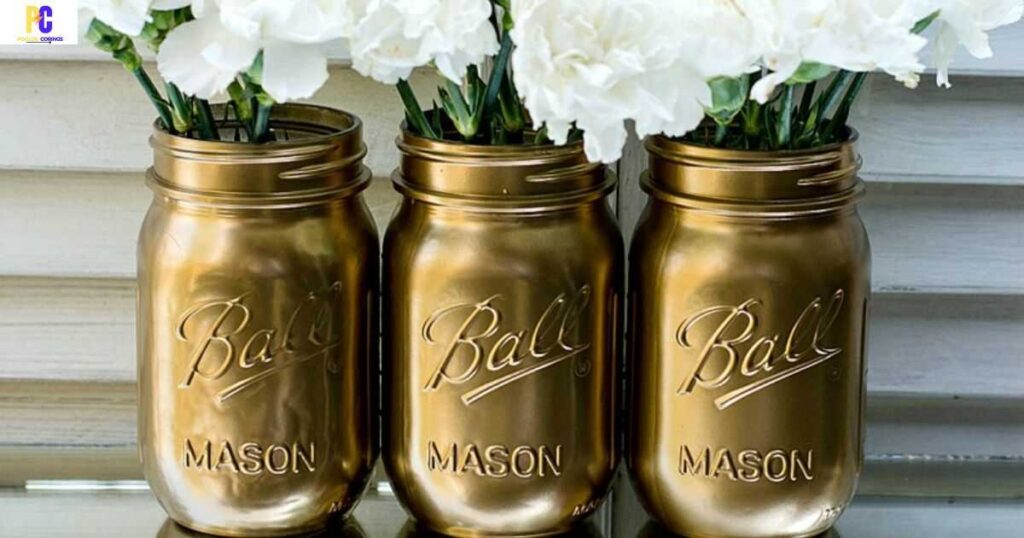
In the world of home canning and preserving, proper sterilization of mason jars is crucial to ensure the safety and longevity of your preserved goods. Whether you are a seasoned canner or just starting, understanding the correct methods of sterilizing mason jars is essential. This guide will provide you with step-by-step instructions on various sterilization techniques, such as using the oven, microwave, dishwasher, or water bath.
By following these methods, you can confidently prepare your jars for preserving your favorite fruits, vegetables, and sauces. With the knowledge and skills to sterilize mason jars effectively, you can embark on your canning journey with the peace of mind that your preserved goods will be safe and flavorful for months to come.
Key Takeaways
- Sterilizing mason jars is crucial for preventing the growth of bacteria and microorganisms.
- Proper sterilization helps maintain the nutritional value of the stored food.
- Sterilized jars minimize the risk of foodborne illnesses.
- Drying the sterilized jars completely before using or storing them is important to prevent contamination.
Necessary Supplies
To properly sterilize mason jars, it is essential to gather the necessary supplies. First, you will need a large pot or canner with a lid. This will be used for boiling the jars. You will need a jar lifter or tongs to handle the hot jars safely. It is important to have a kitchen timer or a reliable clock to accurately time the sterilization process. Wondering for more information on How Many Ounces in a Mason Jar?
To prevent contamination, it is crucial to have clean, lint-free cloths or paper towels for drying the jars. Lastly, you will need new lids and bands for each jar. It is recommended to use new ones each time to ensure a proper seal. By having these necessary supplies ready, you can ensure a successful and safe sterilization process for your mason jars.
Adapting to Altitude
To adapt to altitude when sterilizing mason jars, adjust the boiling time to ensure proper heat penetration and to prevent potential spoilage or contamination. At higher altitudes, the boiling point of water decreases due to the decrease in atmospheric pressure. This lower boiling point affects the sterilization process as it may not reach the required temperature to kill bacteria and other microorganisms effectively.
To compensate for this, it is necessary to increase the boiling time. The specific adjustment in boiling time depends on the altitude. As a general rule, for every 1,000 feet (305 meters) increase in altitude above sea level, it is recommended to add an extra minute to the boiling time. This adjustment helps to guarantee the effectiveness of the sterilization process and maintain the safety and quality of the preserved contents.
Glass Jar Sterilization Methods
One popular method for sterilizing glass jars is by using an autoclave. An autoclave is a device that uses steam and high pressure to effectively kill microorganisms and sterilize equipment. In the case of glass jars, the autoclave works by subjecting the jars to steam at temperatures above 121 degrees Celsius for a specific duration of time. In this way, bacteria, viruses, and other pathogens present on the jars are destroyed, making them safe for storing food or other perishable items.
Autoclaves are widely used in laboratories, hospitals, and other settings where sterilization is critical. They offer a reliable and efficient method for ensuring the cleanliness and safety of glass jars, providing peace of mind for those who desire belonging to a community that values hygiene and proper food storage practices.
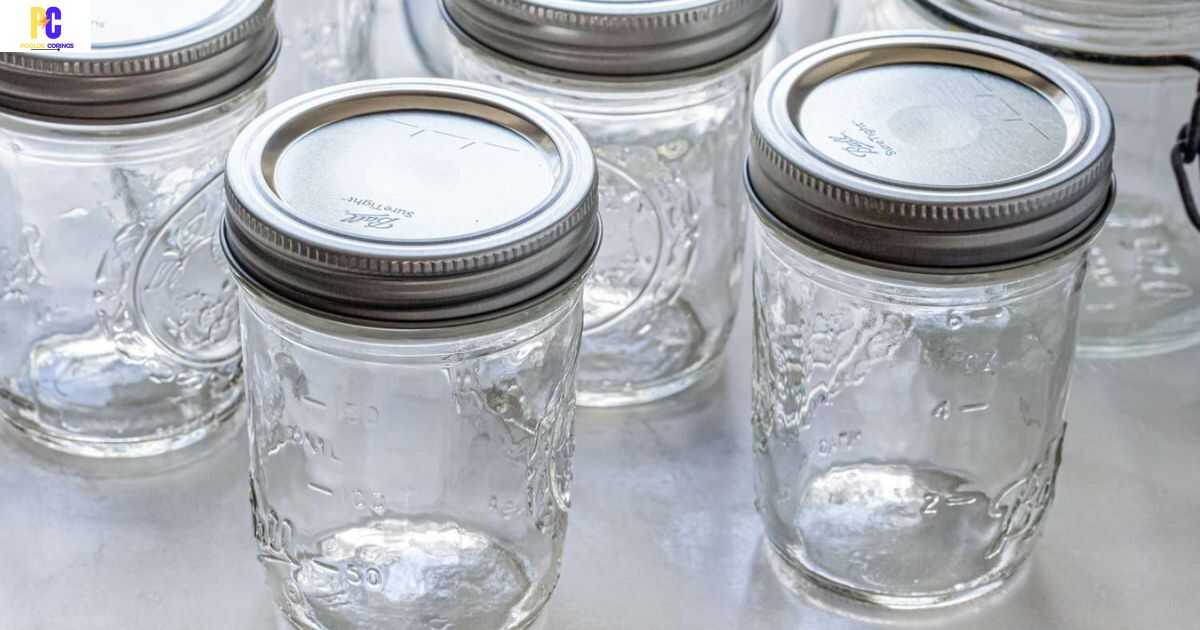
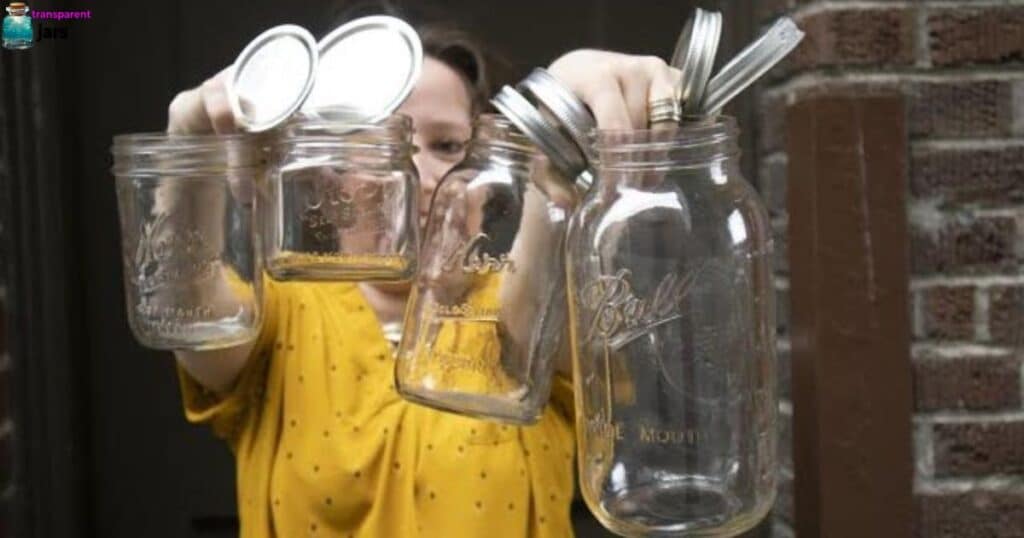
Cleaning the Lids and Rings
After sterilizing the glass jars, it is essential to thoroughly clean the lids and rings to ensure proper sanitation. The lids and rings of mason jars can harbor bacteria and other contaminants, which can compromise the safety and quality of the preserved food. To clean the lids and rings, start by removing any residual food particles or debris. Use a brush or sponge and warm, soapy water to scrub the surfaces thoroughly.
Rinse the lids and rings with clean water to remove any soap residue. To further sanitize them, you can soak the lids and rings in a mixture of equal parts water and vinegar for about 10 minutes. Afterward, rinse them again with clean water and allow them to air dry completely before using or storing. By properly cleaning the lids and rings, you can ensure that your preserved foods remain safe and of high quality.
Importance of Sterilizing Jars
Sterilizing jars is crucial for ensuring the safety and longevity of preserved foods. The process of sterilization eliminates harmful microorganisms, such as bacteria, yeasts, and molds, that can spoil or contaminate the preserved foods. By sterilizing the jars, we create a sterile environment that prevents the growth of these microorganisms, thus extending the shelf life of the preserved foods.
Properly sterilized jars also play a significant role in preventing foodborne illnesses. When jars are not sterilized, any microorganisms present can multiply rapidly and cause food poisoning when consumed. Sterilization ensures that the jars are free from any potential sources of contamination, reducing the risk of illness.
Moreover, sterilizing jars is a crucial step in canning and preserving processes. It allows for a proper seal to be formed between the jar and the lid, creating an airtight environment that prevents the entry of air and further microbial contamination.
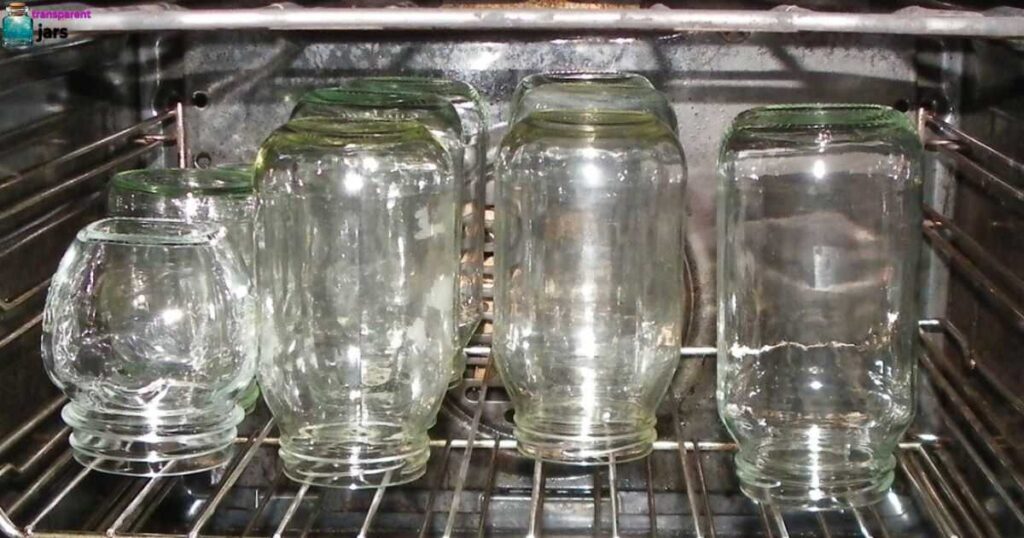
Sterilizing Jars in the Oven
To ensure the highest level of sterilization, the oven method can be employed as an effective technique for preparing mason jars. This method involves using the heat from the oven to kill any bacteria or microorganisms present on the jars, ensuring a safe environment for food preservation. To sterilize jars in the oven, begin by preheating the oven to 225°F (107°C).
Next, wash the jars and their lids with hot soapy water, rinsing them thoroughly. Place the jars and lids on a baking sheet, ensuring that they are not touching each other. Carefully transfer the baking sheet into the preheated oven and let the jars bake for 20 minutes. Once the sterilization process is complete, use oven mitts to remove the jars from the oven and let them cool before using.
Sterilizing Jars in the Microwave
To achieve optimal sterilization of mason jars, an alternative method that can be implemented is sterilizing jars in the microwave. This method offers convenience and speed, making it an attractive option for individuals who desire a quick and efficient sterilization process. To sterilize jars in the microwave, begin by removing any metal components such as lids or rings.
Next, place the jars in the microwave along with a small amount of water. It is important to ensure that the jars are fully submerged in the water to facilitate proper sterilization. Set the microwave to high power and heat the jars for approximately 2-3 minutes. Carefully remove the jars from the microwave using oven mitts or a towel, as they will be hot. Allow the jars to cool before use. This method provides a simple and effective way to sterilize mason jars for various purposes.
Sterilizing Jars in the Dishwasher
When using the dishwasher, mason jars can be sterilized effortlessly. The high temperatures and strong jets of water in a dishwasher provide an effective method of sterilization for mason jars. To sterilize the jars in the dishwasher, ensure they are empty and free of any food residue. Place the jars upright in the dishwasher, ensuring they are securely positioned to prevent any breakage. Select a high-temperature wash cycle, preferably with a heated dry option.
This will ensure that the jars are exposed to the hot water and steam necessary for sterilization. It is important to note that not all dishwashers have the same settings, so consult the manufacturer’s instructions for the optimal settings. Once the cycle is complete, allow the jars to cool before handling them. With the dishwasher method, sterilizing mason jars becomes a simple process, providing peace of mind for those who desire a hygienic environment for their food storage needs.
Sterilizing Jars in a Water Bath
The process of sterilizing mason jars in a water bath involves immersing the jars in boiling water to ensure complete sanitation. This method is commonly used in canning and preserving foods to prevent the growth of bacteria and other microorganisms. To sterilize the jars, start by washing them thoroughly with warm soapy water.
Then, place the jars in a large pot and fill it with enough water to cover the jars completely. Bring the water to a rolling boil and let the jars boil for at least 10 minutes. After boiling, carefully remove the jars from the water bath using tongs and place them upside down on a clean towel to dry. This method effectively sterilizes the jars, making them safe to use for storing food.
Frequently Asked Questions
Can I Reuse the Lids and Rings After Sterilizing the Jars?
Yes, it is generally safe to reuse the lids and rings after sterilizing the jars. However, it is important to inspect them for any signs of wear or damage before reuse to ensure proper sealing and food safety.
How Long Should I Let the Jars Cool Before Using Them?
It is recommended to allow mason jars to cool completely before using them. This ensures that the temperature inside the jar has equalized, reducing the risk of thermal shock and potential breakage.
Can I Sterilize Jars in a Pressure Cooker?
Yes, it is possible to sterilize mason jars in a pressure cooker. The high temperature and pressure created in a pressure cooker effectively kill bacteria and other microorganisms, ensuring the jars are safe for food preservation.
How Often Should I Sterilize My Jars?
To maintain proper hygiene and prevent contamination, it is recommended to sterilize mason jars before each use. This ensures a clean and safe environment for food storage, preserving the quality and integrity of the contents.
Can I Sterilize Jars Without Using Any Chemicals?
Sterilizing jars without the use of chemicals is possible by using alternative methods such as heat and steam. These methods can effectively kill bacteria and other microorganisms, ensuring the jars are safe for food storage without the need for chemical agents.
Conclusion
Sterilizing mason jars is a crucial step in ensuring the safety and longevity of preserved foods. By following the proper methods such as using the oven, microwave, dishwasher, or water bath, you can effectively eliminate harmful bacteria and maintain the quality of your stored goods. Just as a painter meticulously prepares their canvas before creating a masterpiece, sterilized mason jars set the foundation for successful food preservation.