Do you want your mason jars to be as clean and pure as a mountain stream? If so, then learning how to sterilize them properly is essential. Whether you’re a seasoned canner or just starting out, sterilizing your mason jars ensures that your preserved goodies stay fresh and safe.
In this guide, we’ll walk you through the steps to sterilize your mason jars, so you can confidently preserve your favorite fruits, vegetables, and more. From boiling to using a dishwasher or even the oven, we’ve got you covered. So let’s get started on this journey to perfectly sterilized mason jars that will make you feel like part of a thriving community of home preservers.
Key Takeaways
- Sterilizing mason jars is important to prevent spoilage, contamination, and foodborne illnesses.
- Proper cleaning techniques include removing labels, washing with hot soapy water, and air drying completely.
- There are two main methods for sterilizing mason jars: hot water method and dishwasher sterilization process.
- Ensuring proper drying and storage of sterilized mason jars is crucial to prevent bacterial growth and maintain their longevity.
Why Sterilizing Mason Jars Is Important
To understand the importance of sterilizing mason jars, you need to consider the potential risks of using unsterilized containers. Mason jars are commonly used for canning and preserving food, and it is crucial to ensure that they are properly sterilized before use. Sterilization eliminates any bacteria, yeast, or molds that may be present in the jars. Wondering for more information on Can You Microwave Mason Jars?
By sterilizing mason jars, you are ensuring the safety and longevity of your preserved food. The benefits of sterilizing mason jars are numerous. It helps to maintain the flavor, texture, and nutritional value of the food, extends its shelf life, and reduces the risk of foodborne illnesses. Now that you understand why sterilizing mason jars is necessary, let’s move on to the next step – gathering the necessary supplies.
Gathering the Necessary Supplies
To gather the necessary supplies for sterilizing mason jars, you will need the following items:
| Supplies | Purpose | Necessary Precautions |
|---|---|---|
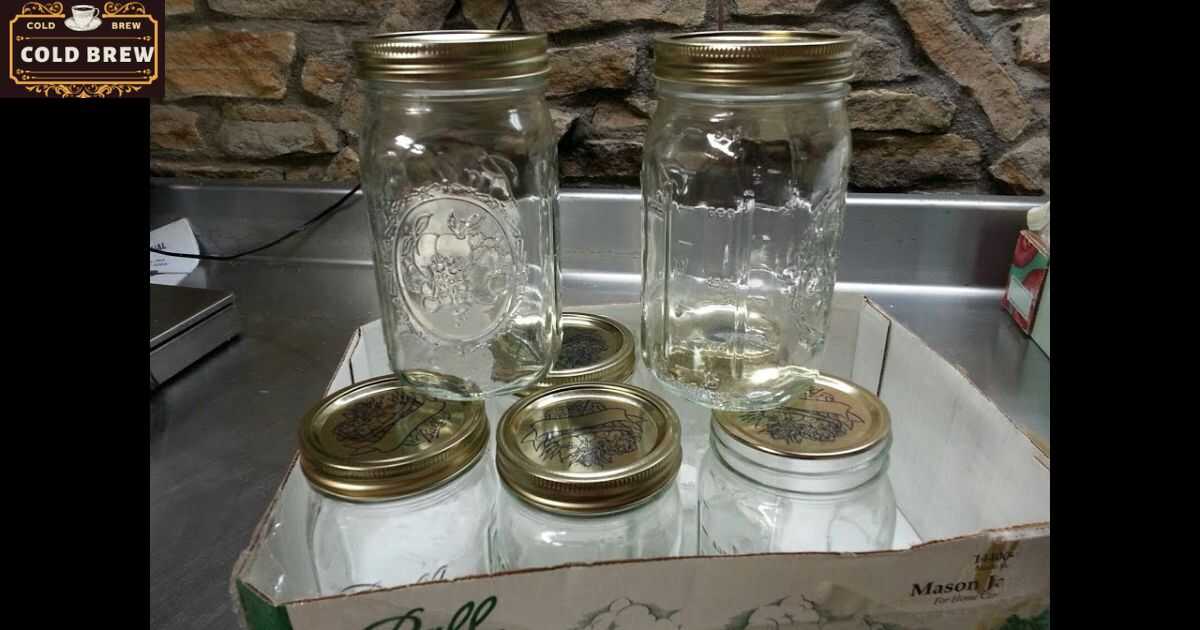
| Mason Jars | Container for storing food | Check for cracks or chips that may affect sterilization process. |
| Water | Sterilizing agent | Use clean, filtered water to ensure proper sterilization. |
| Large Pot | Sterilization vessel | Make sure the pot is deep enough to fully submerge the jars. |
Proper sterilization of mason jars is crucial to ensure the safety and longevity of preserved food. When gathering the necessary supplies, it is important to take necessary precautions. Inspect the mason jars for any cracks or chips that could hinder the sterilization process. Use clean, filtered water as a sterilizing agent to eliminate any potential contaminants.
Make sure the pot you use for sterilization is large enough to fully submerge the jars, ensuring thorough sterilization. By following these steps and gathering the appropriate supplies, you can achieve effective sterilization of mason jars for safe food preservation.
Preparing the Mason Jars for Sterilization
To prepare the mason jars for sterilization, you need to start with proper cleaning techniques. Make sure to remove any labels or sticky residue, and wash the jars thoroughly with hot soapy water. Then, you can choose between the hot water method or the dishwasher sterilization process to ensure proper sterilization of the jars before use.
Proper Cleaning Techniques
Clean the mason jars thoroughly before sterilizing them. Proper cleaning is essential to ensure the jars are free from any dirt, bacteria, or residue that could compromise the sterilization process. To clean the jars, gather the necessary cleaning tools such as a scrub brush, dish soap, and hot water. Start by removing any labels or stickers from the jars.
Then, wash the jars in hot soapy water, making sure to scrub the inside and outside surfaces thoroughly. Rinse the jars with hot water to remove any soap residue. Finally, allow the jars to air dry completely before proceeding with the sterilization process. By following these cleaning techniques, you are ready to move on to the next step, which is the hot water method for sterilizing the mason jars.
Hot Water Method
To prepare the mason jars for sterilization, fill a large pot with water and place it on the stove. This method, known as the hot water bath, is a common and effective way to sterilize mason jars. Once the pot is filled with water, carefully arrange the jars inside, ensuring they are fully submerged.
It is important to note that the jars should not touch each other or the sides of the pot, as this may cause them to crack. Heat the water to a rolling boil and let the jars simmer for at least 10 minutes. Alternatively, you can use a dishwasher with a high-temperature setting or an oven set to 250°F (121°C) for 20 minutes as alternative methods for sterilizing mason jars.
Dishwasher Sterilization Process
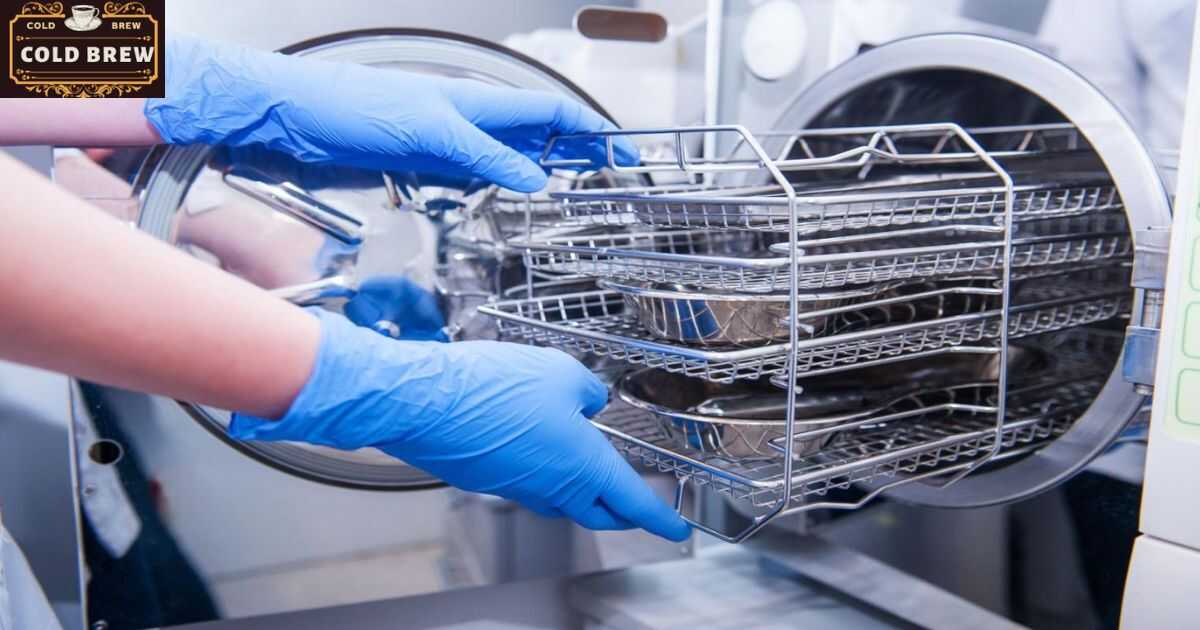
How can you effectively prepare mason jars for sterilization using the dishwasher? When it comes to sterilizing mason jars, using a dishwasher can be a convenient and effective method. Compared to the traditional hot water sterilization process, using a dishwasher offers several benefits.
Firstly, the dishwasher utilizes high temperatures and powerful jets of water, ensuring thorough cleaning and sterilization of the jars. Secondly, the dishwasher can accommodate multiple jars at once, saving time and effort. The dishwasher’s heat drying feature helps to eliminate any remaining moisture, further reducing the risk of bacterial contamination
To prepare the mason jars for sterilization in the dishwasher, make sure to remove any lids, rings, or rubber seals. Place the jars securely in the dishwasher, ensuring they are not touching each other or any other items. Run a hot water cycle with a high-temperature setting and add chlorine-free dishwasher detergent. Once the cycle is complete, carefully remove the sterilized jars from the dishwasher and allow them to cool before use.
Method 1: Boiling the Mason Jars
Boil the mason jars to sterilize them. This boiling technique is a simple and effective way to ensure that your jars are free from any harmful bacteria or contaminants. To properly sterilize your mason jars, follow these steps:
- Fill a large pot with enough water to completely submerge the jars.
- Place the jars in the pot, making sure they are fully covered with water.
- Bring the water to a rolling boil and let the jars boil for at least 10 minutes.
- After boiling, carefully remove the jars from the pot using tongs or a jar lifter.
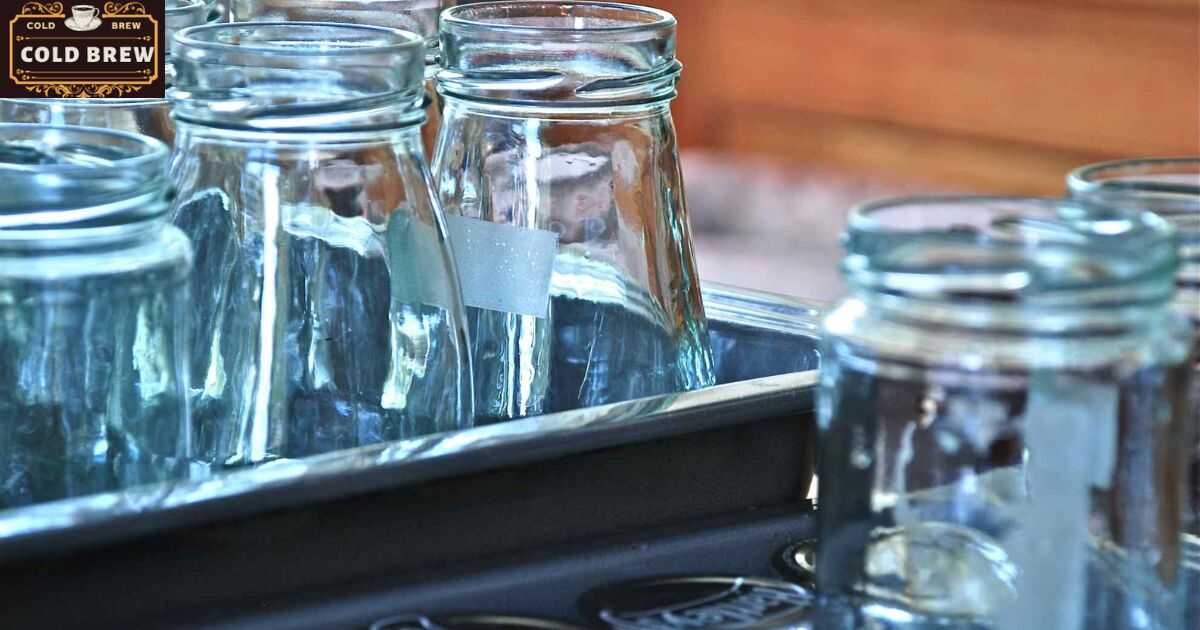
- Place the jars upside down on a clean towel to dry.
- Once the jars are fully dry, they are ready to be used for canning or storage.
Method 2: Using a Dishwasher for Sterilization
To sterilize mason jars using a dishwasher, you will need to follow these steps:
Pre-rinse the jars: Before placing the mason jars in the dishwasher, make sure to rinse them thoroughly to remove any food residue or debris.
Load the dishwasher: Arrange the jars in the dishwasher, making sure they are evenly spaced and not touching each other. This will allow for proper water circulation during the sterilization process.
Set the dishwasher temperature: Adjust the dishwasher temperature to the highest setting available. Most dishwashers have a sterilized or sanitized option that heats the water to a high temperature, killing any bacteria or pathogens present on the jars.
Choose the appropriate dishwasher cycle: Select a cycle that includes a prolonged hot water rinse and drying process. This will ensure that the jars are thoroughly sterilized and completely dry before use.
Method 3: Sterilizing Mason Jars in the Oven
For this method, you will need to preheat your oven to the appropriate temperature. Sterilizing mason jars in the oven is a simple and effective way to ensure their cleanliness. Here’s how you can do it:
- Preheat your oven: Set the temperature to 250°F (121°C). This will provide adequate heat to kill any bacteria or microorganisms present in the jars.
- Place the jars in the oven: Arrange the jars on a baking sheet, ensuring they are not touching each other. This allows for even heat distribution and prevents any breakage.
- Bake the jars: Leave the jars in the oven for 20 minutes. This duration ensures proper sterilization without overheating the jars.
Ensuring Proper Drying of Sterilized Mason Jars
To ensure proper drying of sterilized mason jars, there are a few effective techniques you can follow. Firstly, allow the jars to air dry on a clean and dry surface, preferably with good airflow. Secondly, you can use a clean towel or paper towel to gently pat dry the jars, ensuring that all moisture is removed. Lastly, it is important to avoid any moisture buildup by storing the jars in a dry and well-ventilated area until they are ready to be used.
Effective Drying Techniques
After sterilizing your mason jars, it’s essential to dry them thoroughly for proper preservation and usage. Here are some effective drying techniques to ensure your jars are completely dry:
Air drying: Place the sterilized jars upside down on a clean dish rack or towel. Allow them to air dry naturally, ensuring all moisture evaporates.
Oven drying: Preheat your oven to a low temperature (around 200°F/93°C). Place the jars, right side up, on a baking sheet and place them in the oven for about 15-20 minutes. Keep a close eye on them to prevent overheating.
Towel drying: Use a clean, lint-free towel to dry the jars manually. Gently pat the inside and outside of the jars to remove any remaining moisture.
Cooling rack drying: If you have a cooling rack with tight spacing, place the jars upside down on it. This allows air to circulate and aids in faster drying.
Avoiding Moisture Buildup
To ensure proper drying of sterilized mason jars, you can take steps to avoid moisture buildup. Moisture can lead to bacterial growth and potential contamination, so it is crucial to eliminate any excess moisture before storing your jars. After sterilizing your mason jars using your preferred method, allow them to air dry completely. Placing the jars upside down on a clean and dry surface can help facilitate faster drying.
You can use a clean cloth or paper towel to gently wipe the inside and outside of the jars to remove any remaining moisture. It’s important to ensure that the jars are completely dry to prevent the growth of bacteria and ensure the safety of your preserved foods. Now that your jars are dry, let’s move on to the next step: storing sterilized mason jars safely.
Storing Sterilized Mason Jars Safely
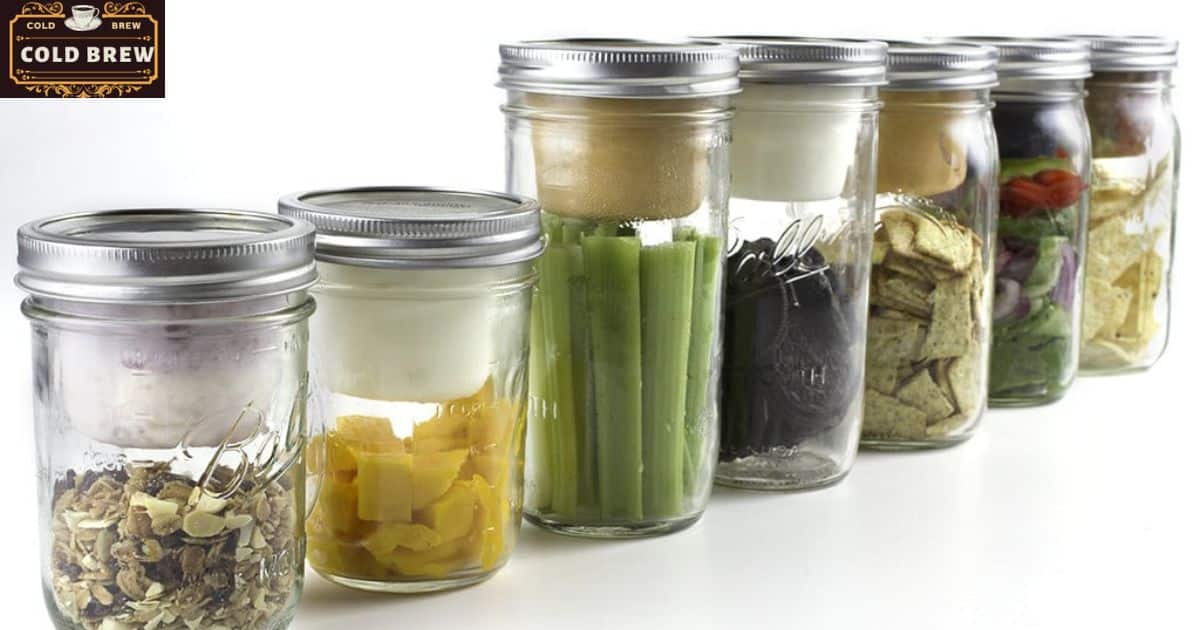
You can safely store sterilized mason jars by following these guidelines:
Choose a clean and dry storage area: Find a space that is free from dust, moisture, and direct sunlight. This will help maintain the sterility of the jars.
Use proper storage containers: Opt for airtight containers to keep your sterilized mason jars safe. Glass or plastic containers with tight-fitting lids are ideal.
Organize your jars strategically: Systematically arrange your sterilized mason jars, making it easy to access them when needed. Consider using shelves, racks, or storage bins to keep them organized.
Label your jars: To avoid confusion, label each jar with its contents and the date of sterilization. This will help you identify the jars quickly and ensure that nothing goes to waste.
Tips for Maintaining Sterilized Mason Jars Over Time
To keep your sterilized mason jars in optimal condition over time, it’s important to regularly inspect and clean them. Maintaining cleanliness is crucial for preventing contamination and ensuring the jars remain safe for use. Here are some tips to help you maintain the cleanliness of your sterilized mason jars:
Inspect for cracks or chips: Before each use, carefully examine the jars for any cracks or chips. Damaged jars can harbor bacteria and compromise the contents.
Wash with hot, soapy water: After each use, wash the jars with hot water and soap, making sure to remove any residue or food particles.
Sterilize after each use: To further prevent contamination, consider sterilizing the jars after each use. This can be done by boiling them in water for 10 minutes or using a dishwasher’s sterilizing function.
Frequently Asked Questions
How Long Should I Boil the Mason Jars for Sterilization?
To sterilize mason jars, boil them for 10 minutes. This kills bacteria and ensures a clean environment for your food. If you prefer alternative methods, you can use a dishwasher on the hottest setting.
Can I Reuse Mason Jars Without Sterilizing Them?
If you’re reusing mason jars, it’s important to sterilize them to prevent contamination. Boiling is a common method, but if you’re looking for alternatives, you can also use a dishwasher or oven to achieve sterilization.
Is It Necessary to Sterilize Mason Jars if I Plan to Use Them for Dry Storage?
If you’re using mason jars for dry storage, sterilization may not be necessary. However, it’s still important to clean them thoroughly. Consider alternatives like washing with hot soapy water or using a dishwasher. Dry storage tips ensure the longevity of your food.
Can I Sterilize Mason Jars in the Microwave?
Yes, you can sterilize mason jars in the microwave. It’s a quick and efficient method. However, if you don’t have a microwave, there are alternative sterilization methods like boiling them in water.
How Often Should I Sterilize My Mason Jars to Maintain Their Cleanliness?
To maintain the cleanliness of your mason jars, it’s best to sterilize them regularly. The frequency depends on usage, but generally, sterilizing them before each use is recommended. The best methods for sterilization include boiling, using a dishwasher, or using a pressure canner.
Conclusion
In conclusion, sterilizing mason jars is a crucial step in preserving food and preventing bacterial growth. By following the proper methods, such as boiling, using a dishwasher, or using an oven, you can ensure that your jars are free from harmful microorganisms.
Remember to dry the jars thoroughly and store them in a safe place to maintain their sterility. With these techniques, you can confidently store your food in sterilized mason jars for extended periods. How Do I Sterilize Mason Jars?

